UPDATE January 2026: This article is now outdated. ESPHome has introduced the new ESPHome Device Builder with a simplified workflow. Read the 2026 Guide: Getting Started with ESPHome Device Builder for the latest instructions.
A lot is changed since I wrote multiple articles around ESPhome. One of the major things is that ESPhome is now part of Home Assistant core and it comes with a nice integrated User Interface.
What are ESP32 and ESP2866 nodeMCU boards?
ESP boards are a low cost Wi-Fi chips that have built in flash chips allowing you to build a single chip device capable of connecting to Wi-Fi. newer versions like the ESP32 boards also provide you BLE (Bluetooth low energy) and there’s loads of variety of boards you can use.
With ESP you can easily make smart solutions for home automation. You can buy them for about 4-9 dollar/euro on AliExpress or for a bit more with faster delivery on Amazon.
Read more about ESP boards in my introduction to ESP boards article
This article is an updated version of the the Compile and flash your ESP with ESPhome article.
Create a new ESPHome node from HomeAssistant
First we need to define a new ESP home node. With ESPhome being part of Home Assistant you can now do this directly from the Home Assistant UI.
- Login to Home Assistant
- In the main menu click ESPHome
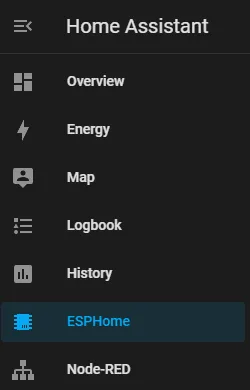
Install the HomeAssistant Addon if you don't see the ESPhome menu item
- In ESPhome click the "+ NEW DEVICE" button in the bottom left corner
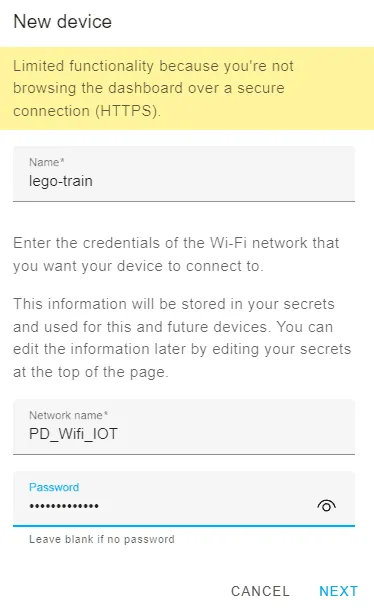
- Provide your node name and WiFi credentials for the WiFi network that the chip needs to connect with and click next.
- Select the type of ESP that you're using. The version of the board is printed on the WiFi chip on the ESP. Click next.
- ESP32 is the board that contains Bluetooth
- ESP8266 is the generic board.
- Congratulations you now created your first ESPhome Node. Click Install.
Initial flash of ESPhome
We need to start by compiling the firmware that we’ll use to flash the ESP chip. You only need to do this once. As soon as ESPhome is installed on your chip you can update the firmware over the WiFi connection with so called "over the air" (OTA) installation.
ESPHome provides you with a number of options for you to install ESP:
- Wirelessly
This will work after you have finalized the initial flash of ESPhome on the chip. - Plugged-in directly from this computer
This method is explained below. - Plugged in from your Home Assistant Server
Never used this method. - or Manual Download
This method is explained below.
Below I will describe the Plugged-in directly from this computer and the Manual Download Method.
Install ESPhome using the Plugged-in directly from this computer Method
The easiest way for the initial flash is to by using the "plugged-in directly from this computer" method. With this method you attach the ESP with USB to your computer and flash it directly from the browser.
Note: This method only works if your Home Assistant runs secure (HTTPS) in the browser. If you use NabuCasa you can use the secure public URL that you can find in; Configuration -> Home Assistant Cloud under Remote Control.
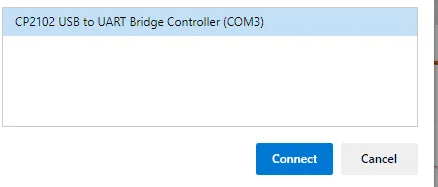
Assuming you're accessing Home Assistant under HTTPS click "Plugged-in directly from this computer". A browser pop-up will show, you need to allow the browser to connect to the COM3 of the USB. Select the COM and click connect. ESPHome will now flash the chip from the browser. How amazing and how easy!
Install ESPhome using the Manual Download method
If you don't have your Home Assistant running under HTTPS you might want to use the Manual Download method. This method will allow you to compile and download the firmware to your computer. After that you can use the ESPFlasher tool to flash the ESP.
In the Install menu click Manual Download. The compilation will now start and the .bin file will download when ready.
Flash ESP with compiled firmware (.bin)
Now we need to flash the ESP chip with your compiled firmware.
-
Go to the esphome-flasher GitHub page and download the flasher for the OS you’re using. There is a esp home flash tool for macOS, Ubuntu and Windows :
https://github.com/esphome/esphome-flasher/releases -
Connect your ESP board with USB to your laptop.
-
Open the flasher tool
-
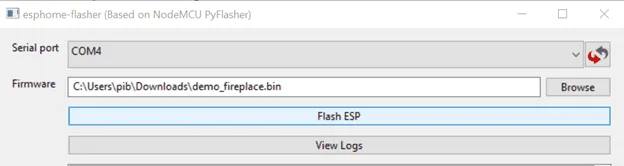
Serial port: select COM port where the board is connected (there is probably only one option 😊).
-
Firmware: Browse to the location where you downloaded your compiled firmware and select your firmware.
-
Click Flash ESP and wait
-
- The ESP will be flashed now, you can follow the progress in the console window. When finished writing the firmware the ESP will restart and connect to your WiFi.
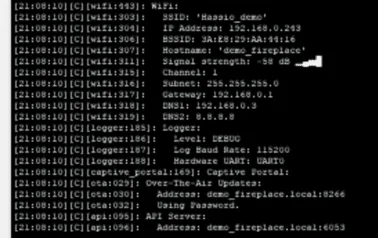
The ESP will be ready after it states that it’s ready for Over-The-Air Updates and that the API server is ready.
Configure device in Home Assistant
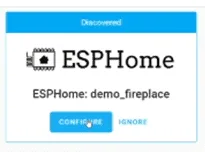
Home Assistant will automatically recognize the ESP on the network and notify you about the new device found. Click on the notification or click Configuration, Integrations. Find the new discovered device and click configure.
Home Assistant will now add your ESP as a new device, there is not much you can do with the device as there are no entities to control.
That's it! No matter which method you used. You are now ready to start tinkering and build amazing WiFi powered solutions using ESPHome. Don't forget to share your projects!
My ESPHome Projects
Read more about how I use ESPHome in my smart home: