second-brainclaudeai-agents
MCP: the live data layer your AI system is missing
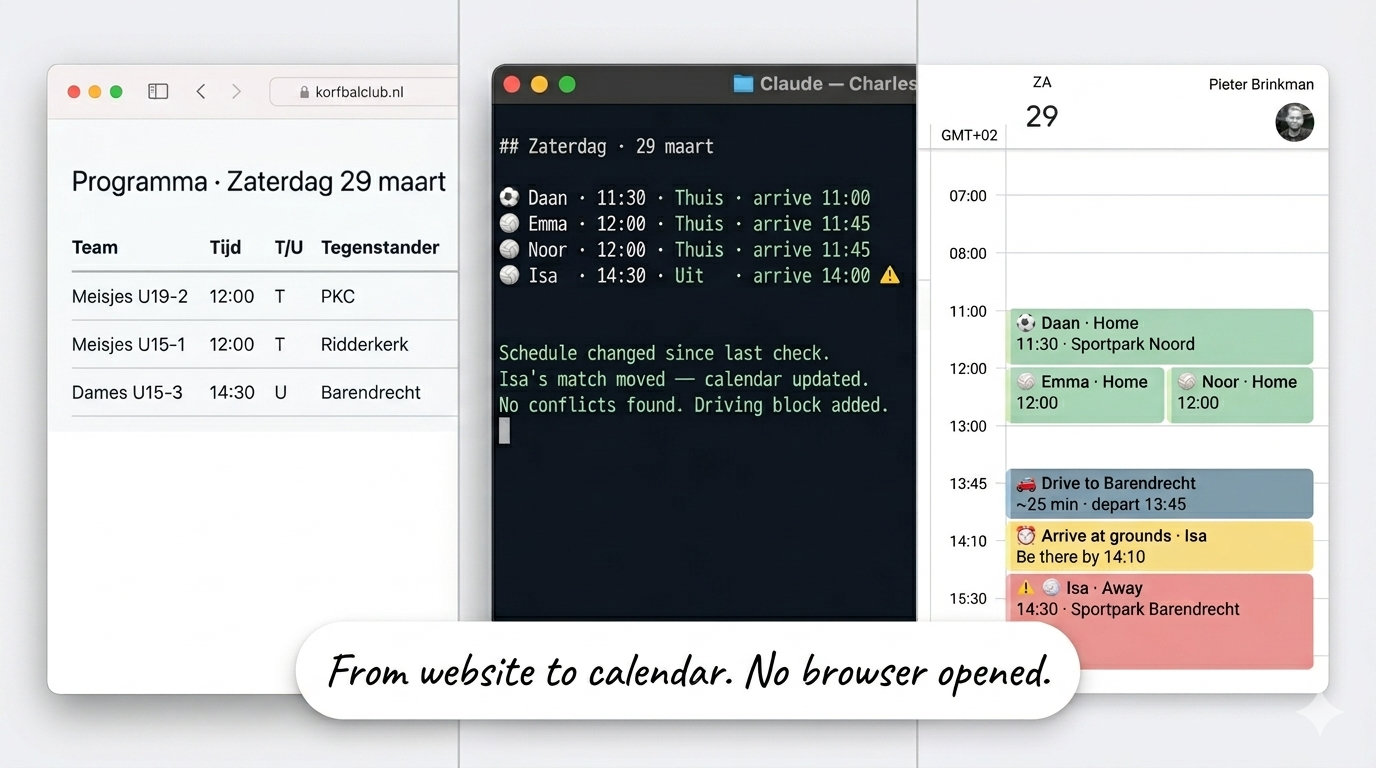
None of that information was in the vault. No file listed Saturday's schedule. Charles didn't remember it. He looked.
Mar 28, 202621 min read
How I actually use AI every day — systems, agents, and the honest failures in between.
None of that information was in the vault. No file listed Saturday's schedule. Charles didn't remember it. He looked.
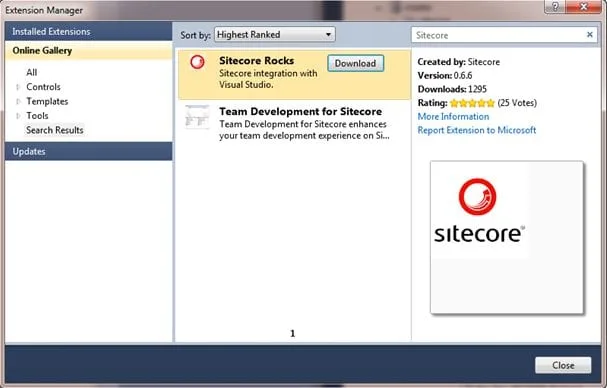
Last month I gave a Dutch webinar about developing for Sitecore with the Visual Studio 2010 plugin Sitecore Rocks. You can watch the webinar on Youtube. \…
There are a few characters and words you need to escape while using Sitecore query. You can escape special characters wrapping them in a . For example a…

In this article I'm going to explain how to convert .mrt reports from the Sitecore Online Marketing Suite Sitecore 6.4 to the Sitecore Digital Marketing…
Check the default subscriber profile by clicking the E Mail Campaign node and go to the content folder. In the Implementation Details section check the…
In this post I will extend the basic e mail template for Sitecore ECM with a title and text listing. With this e mail template the business user can create…
In this post I will create an e mail template for ECM from scratch. This article is based on a Webinar in Dutch I did about the Email Campaign Manager ECM…
To disable the plugin compatibility check for Firefox 3.6 follow these steps: Open Firefox In the address bar type “about:config” On the page click I’ll be…
You can automatically add a insert option using a insert option rule in the Sitecore Rule Engine. The 'case': In our Sitecore content tree we have a Meta…
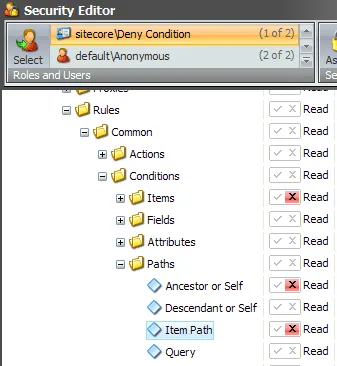
When using the Sitecore Rules Engine you don't want your business user to see all the Conditions and Actions. Conditions and Actions are also items…
In this How to I will build a custom condition for the Sitecore Rules Enginge. This How To is a proof of concept based on a webinar in Dutch about the Rules…