Sitecore Webinar: Pipelines and Processors

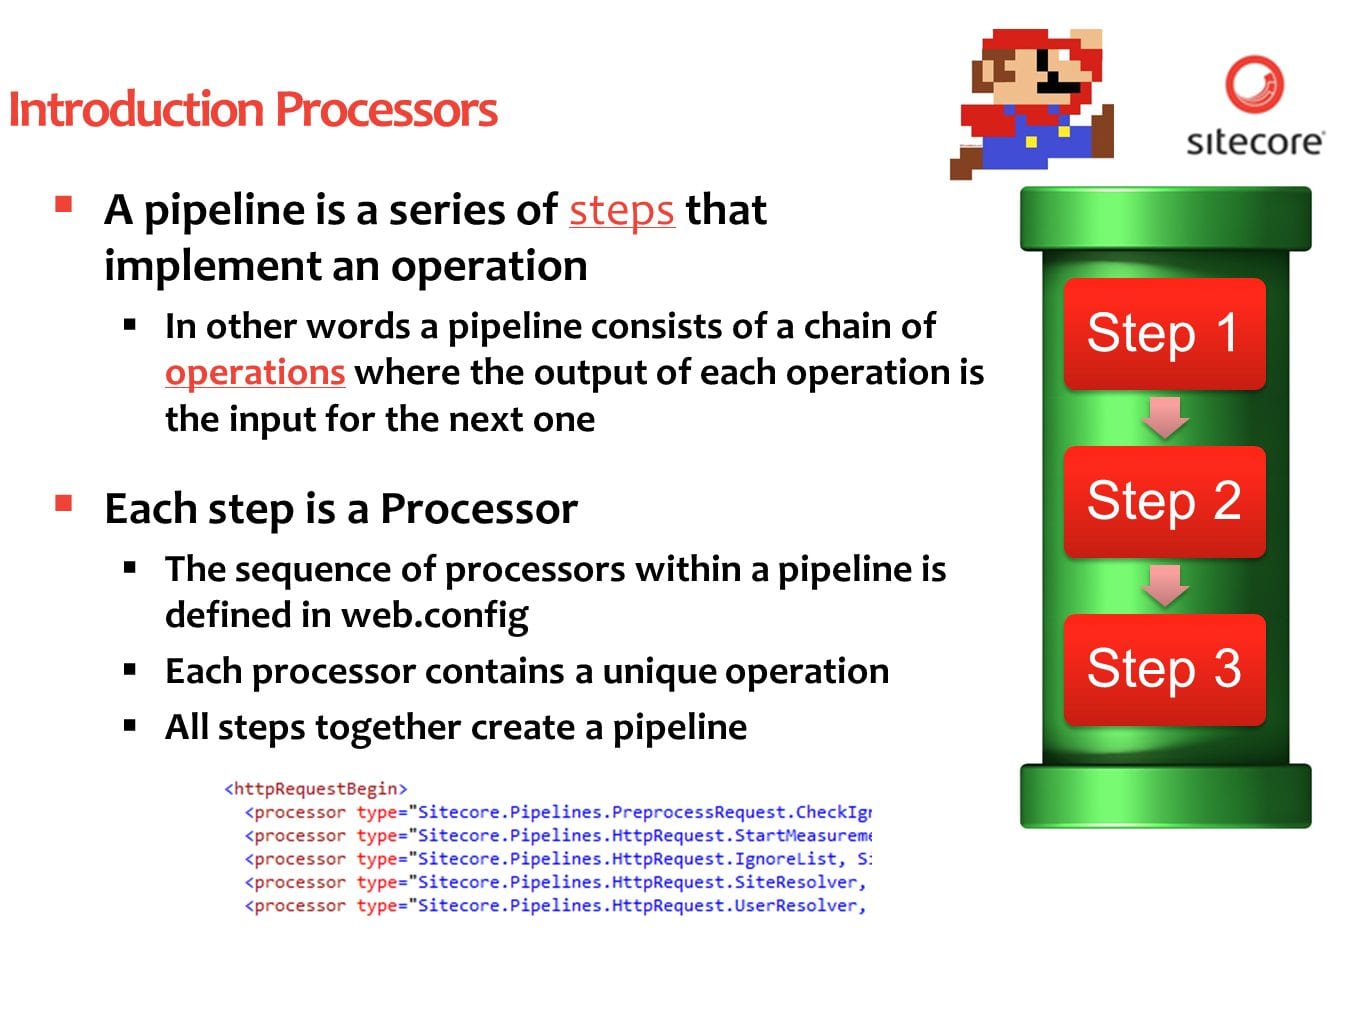
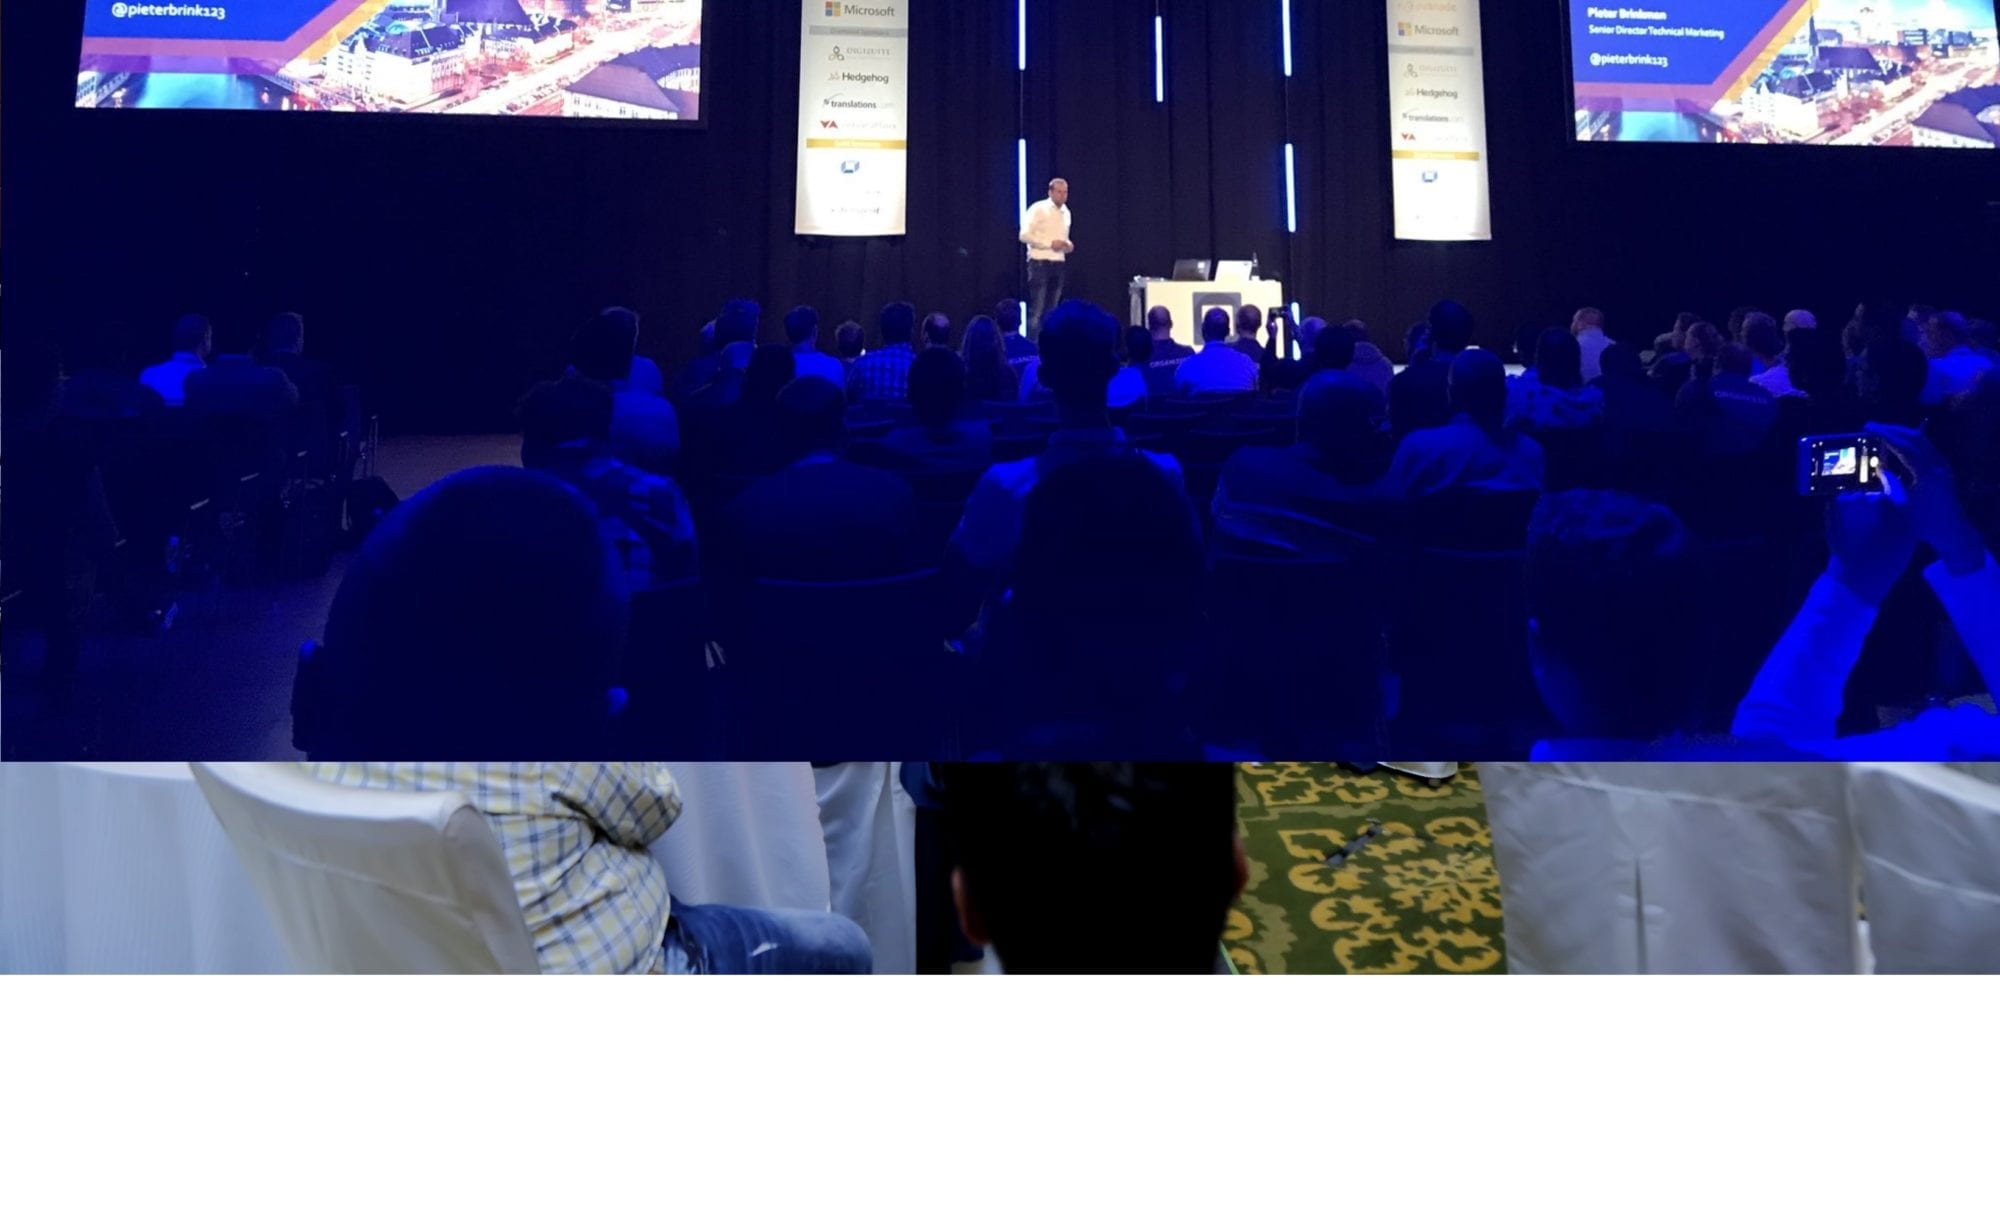
This article is based on a Dutch webinar that I presented august 2012 and will refer to the video recording, slides, the How to documentation and used resources.

The video

You can watch the recording on Youtube.

[youtube]http://www.youtube.com/watch?v=EV57kWzUHAc[/youtube]

The slides

The slides of the webinar are in English and are posted on Slideshare

How to

The code used in the webinar is from the Sitecore how to series; How to Track External Links with DMS.

In the webinar I explain how the processor is build, this is explained in step 2 of the How to: Track all External links with a custom Renderfield processor. But the How To also covers the creation of the Link.aspx page and building the report outgoing link report.

Resources

I selected the following resources where you can find more information about pipelines:

Please add a comment if you have more useful links about Sitecore Pipelines (I will update the post).

Contact

If you have any questions about the webinar, code or the how to please leave a comment.
Webinar: Sitecore and Continuous Integration

webinar sitecore continuous integration

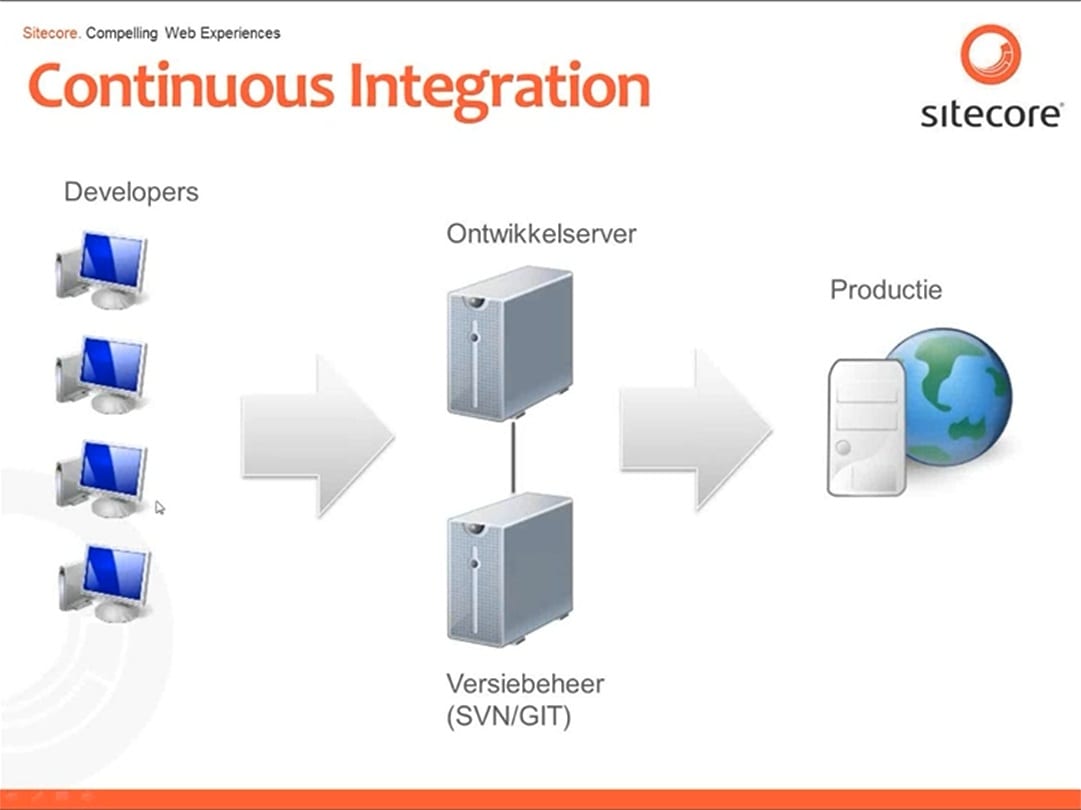
Today Lucas Bol gave the first Dutch Sitecore guest Webinar. The subject of this webinar was continuous integration with Sitecore based on open source products. The video is in Dutch and posted below.

[youtube]http://www.youtube.com/watch?v=Nd__rUJtLq0[/youtube]

In the next few days Lucas will post his documentation and explanation of the webinar in English. Follow us on Twitter @new_guid or subscribe to our RSS feed if you want an update when this is posted.


Sitecore Webinar: Using Sitecore Rocks

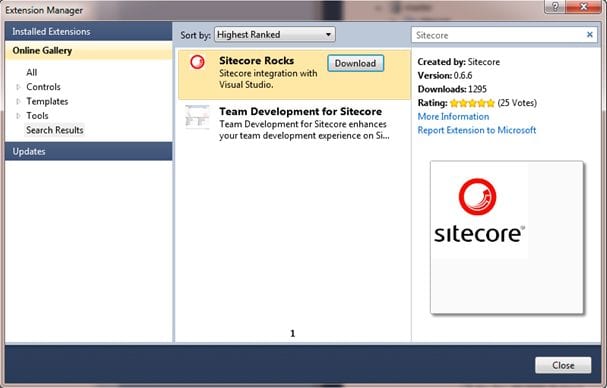
Last month I gave a (Dutch) webinar about developing for Sitecore with the Visual Studio 2010 plugin Sitecore Rocks. You can watch the webinar on Youtube.

[youtube]http://www.youtube.com/watch?v=1nQ5dlAG-kg[/youtube]

In this webinar I builded a website from scratch in 30 minutes only using Sitecore Rocks

Sitecore ECM: How to extend personalization

Check the default subscriber profile by clicking the E-Mail Campaign node and go to the content folder. In the Implementation Details section check the selected profile in the Default Subsciber Profile field. By default this will be Profiles/Subscriber:

clip_image002

You can find the different profiles in the Profiles folder located at /sitecore/system/Settings/Security/Profiles/Subscriber in the Core database.

The Subscriber profile item is based on the Subscriber template. Open the /sitecore/templates/Modules/EmailCampaign/Subscriber template in the Template Manager and add a custom field called Hobby.

clip_image004

The hobby field will be added to the profile of the EmailCampaign Subscribers. Go to the User Manager, select a subscriber and click Edit. On the profile tab the hobby field will appear, insert a value into the hobby field.

clip_image005

Now let’s use the Hobby value to personalize the e-mail message.

There are two ways how you can use these fields within the e-mails. You can type $Hobby$ in a text field or within a richtext area you can select the field in the Insert Field dropdownlist.

clip_image007

To have the Insert Field options you need to add the Html Drop Down item to the toolbar of your Rich text profile or you can use the default Message profile by adding /sitecore/system/Settings/Html Editor Profiles/ Message Content to the source field of the rich text field.

Create a new e-mail in the EmailCampaign manager. And add the hobby fields to the E-mail by typing $Hobby$ or selecting hobby from the Insert Field dropdown in the rich text editor.

clip_image009

Save the change and close the Editor. Now reload your E-mail in the Message Preview tab and the $hobby$ field will be personalized and show my Hobby surfing.

clip_image010

Sitecore ECM: How to create a e-mail template from Scratch – Part II

In this post I will extend the basic e-mail template for Sitecore ECM with a title and text listing. With this e-mail template the business user can create new Title and Text items within the page-editor (Sitecore 6.4 and higher) or the content-editor (all versions of Sitecore). This article is a follow-up article of the Sitecore ECM: How to create a Email template from Scratch – Part I.

Create the Newsletter Text template

Create a template Newsletter Text with the following fields: Message Title and Message Text.

image

Add standard values for the Message Title and Message Text fields.

Add Newsletter Text folder to the Branche Template

Go to the Basic Newletter branche template and create a folder Newsletter Text. Assign the Newsletter Text template as Insert option.

Create Newsletter Text rendering

Create a new layout called Newsletter Text and copy the following code.

[code language=”html”]


[/code]

Update the Newsletter Text Rendering properties

Go to the content tab of the Newsletter Text rendering and add the Insert button to the Page editor Buttons field. Continue reading “Sitecore ECM: How to create a e-mail template from Scratch – Part II”

Sitecore ECM: How to create a e-mail template from Scratch – Part I

In this post I will create a e-mail template for ECM from scratch. This article is based on a Webinar (in Dutch) I did about the Email Campaign Manager (ECM) you can see the Webinar on YouTube.


[youtube]hGmzaK79cvI[/youtube]

We build a custom template the same way that we build a page. First we will create the templates, than we will create the presentation components and at the end we will bind the presentation components to the template standard values. Let’s start building!

Create Basic Newsletter template

1. Open the template manager and create a new template called Basic Newsletter, Select the following base templates
/sitecore/templates/Modules/Email Campaign/Messages/Inner Content/Message Root

2. Specify the following fields :
a. Title
b. Text, set the source property to /sitecore/system/Settings/Html Editor Profiles/ Message Content
c. Header Text
d. Header Link Text
e. Footer Text

The Basic Newsletter template in will look like this:

Sitecore ECM how to custom template datatemplate

3. Set the following standard values:

Field Standard value
Title Newsletter title
Text Newsletter Text
Header Text Are you having trouble viewing the e-mail?
Header Link Text Please click here to see the online version.
Footer Tekst <table width=”100%” style=”font-family: arial,helvetica,sans-serif; font-size: 11px;” border=”0″ cellspacing=”0″ cellpadding=”0″>
<tbody>
<tr valign=”top”>
<td>
<div><b>Organization Name</b></div>
<div>Street</div>
<div>City</div>
<div>Country</div>
</td>
<td align=”right”>
<div>This message was intended for: “$email$”</div>
<div><a href=”/link to unsubscribe page.aspx” style=”color: #c73318; text-decoration: underline;”>Unsubscribe</a></div>
</td>
</tr>
</tbody>
</table>

Create Basic Newsletter Branche template

1. Create a branch template
2. Select the /sitecore/templates/Modules/Email Campaign/Messages/Pre-existing page template
3. Rename the create Pre-exiting Page branche template to Basic NewsLetter
4. Underneath the $name item create the Email Message root item based on the Basic newsletter template
5. Underneath the created Email Message root item insert a folder called Message Subjects. This folder will contain all subjects for the e-mail.
6. Remove the folder template to insert options of the Message Subject folder and add the Subject template: /sitecore/templates/Modules/Email Campaign/Messages/Inner Content/Newsletter/Subject.
7. Insert a Subject item in the Message Subject folder with the name Subject 1.

The branche template should look like this: Continue reading “Sitecore ECM: How to create a e-mail template from Scratch – Part I”