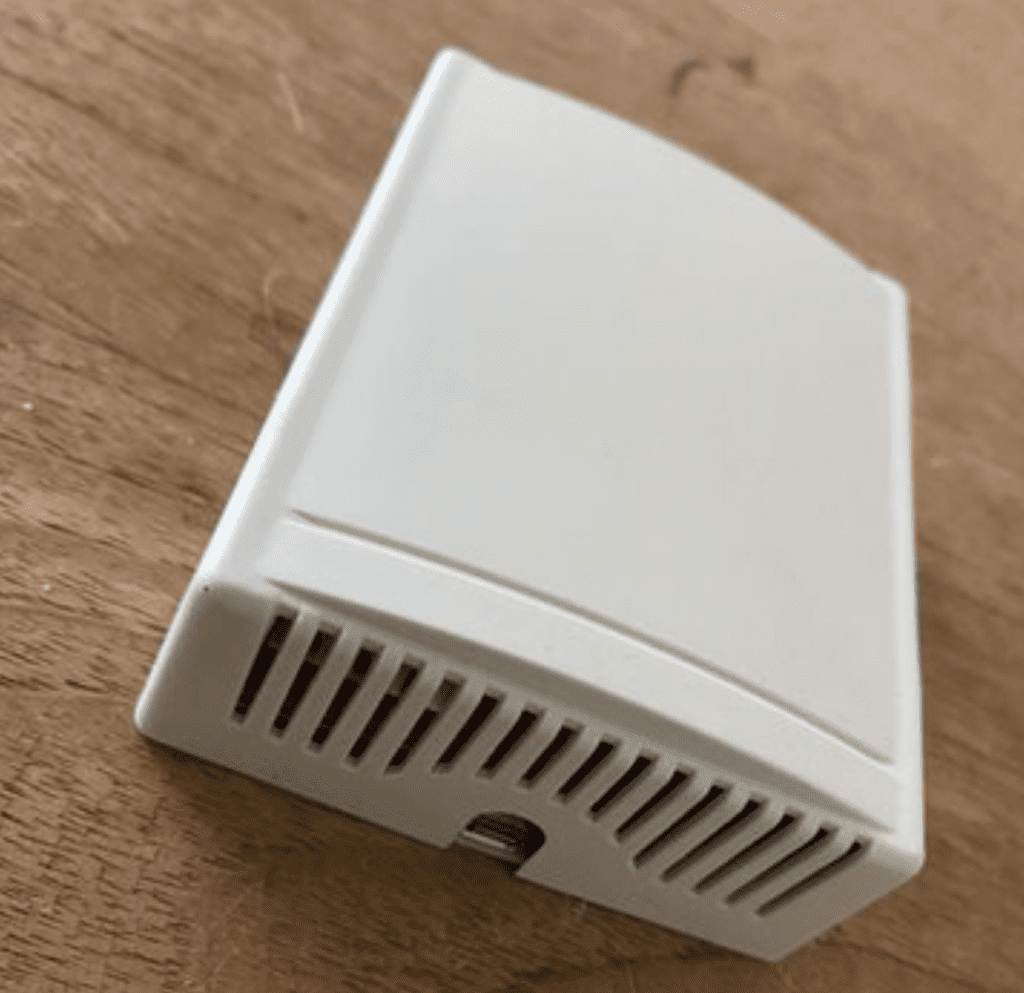
This article will provide a walkthrough of how you can build a Particulate Matter Air Quality meter that integrates with your Home Assistant for under 20$, without any soldering or coding skills needed.
The sensor will provide multiple air-quality measurements directly visible in Home Assistant.
Final result: The air quality sensor and the measurements in Home Assistant
After seeing all kinds of air purifiers in the market, like the one from Xiaomi and Philips. I got interested in the topic air quality. First, I needed to learn more about how and what to measure, followed by actually measuring the air quality in my home. I don’t want to buy a air purifier if the quality of the air in my home is not bad. But how do you measure air quality?
What is a Particulate Matter sensor?
My search started with looking for a particulate matter sensor. A particulate matter sensor measures tiny particles or droplets in the air that have a specific size in microns or micrometers (µm). Like inches, meters and miles, a micron is a unit of measurement for distance. There are about 25,000 microns in an inch.
Particulate matter is the sum of all solid and liquid particles suspended in air many of which are hazardous. This complex mixture includes both organic and inorganic particles, such as dust, pollen, soot, smoke, and liquid droplets. These particles vary greatly in size, composition, and origin.
Source: www.greenfacts.org
Particulate matter (PM) is generally classified into two main size categories: PM10 and PM2.5. As an example, the particulate classified as PM2.5 is the size of 2.5 µm and would be thirty times smaller than that of a human hair.
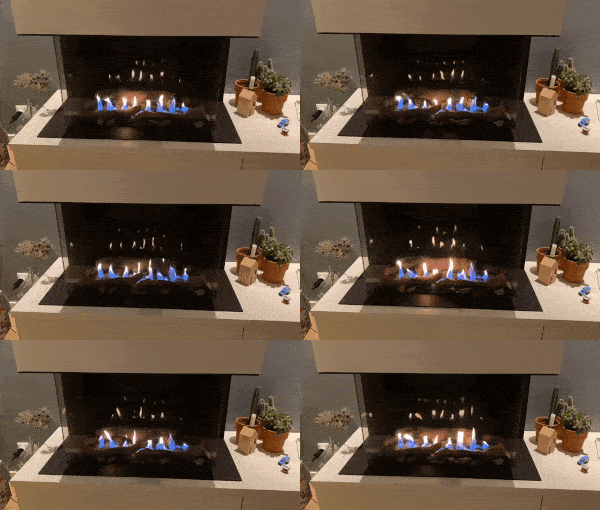
This article provides you with an overview and links of all articles published around the fireplace project that was presented during the Home Assistant Conference 2020.
The wiring is now ready, let’s expose three switches to Home Assistant to control the relays.
Expose pins as switches
Open ESPHome and click EDIT on your node. The ESPHome configuration editor will now show. Add following configuration in the bottom of the configuration.
Note: The PIN name is translated from the physical D number printed on the ESP to the addressable name used in configurations and programming. E.g. pin D7 is referred to as GPIO13, all mappings can be found in the image in the ESP Intro section.
UPDATE (thanks Petr): “Fortunately ESPHome knows the mapping from the on-board pin numbers to the internal pin numbering, but you need to prefix the pin numbers with D as in the image below in order for this automatic mapping to occur. In general, it is best to just use the D0, D1, … pin numbering to avoid confusion”
We are adding three switches of the platform type GPIO, this means that the switch will 1:1 control the GPIO pins. For every switch we define the GPIO pin that is controlled, and we provide a name and ID.
Flash the firmware Over The Air (OTA)
That’s it, now flash the firmware of the ESP with the updated firmware based on our new configuration. We do not need to use the flasher tool anymore, we can use the Over-The-Air flash feature to flash the chip with the new firmware over the WiFi Connection. It is as easy as clicking the UPLOAD button.
ESPHome will compile the new firmware, send it over to the ESP that will than flash itself. After flashing the ESP will come back online with the new firmware. It does not get much easier!
Control the relay from Home Assistant
Wait till the ESP has been flashed successful and is connected to the WiFi.
Find your device in Home Assistant, noticed that the device now has 3 entities. Click on the device and you’ll see that it has three switches, called IN1, IN2 and IN3.
Press the switches and enjoy the sound of clicking relays. Every switch should control the matching relay.
Create timing to control the fireplace
To control the fireplace I need to match following sequences with the switches:
Ignition, close contacts 1 and 3 simultaneously for 2 seconds
Fire off, clos contact 1,2, and 3 simultaneously for 1 second
We need to control the relays in these sequences with the ESP board. We can do this by extending the ESP configuration. We’ll add an Ignition switch that will execute sequences above when turned on and off.
Open ESP home and click edit on the node to go to the configuration editor.
Add a new Switch (right under IN3) with following configuration.
To control the relay we need to provide high or low power to the IN ports of the board. This board has four relays. In my example I only need to use three relays.
Wiring the relay board to the ESP is easy.
Powering the relay board
The relay board needs 5v power. We will power the relay board directly from the ESP using the 5v VIN pin.
Controlling the relays
Pin D5, D6, and D7 will be used to control the three relays on the board.
We now have all ingredients for our solution, covered in the in the previous articles in this series. Before we start building, let’s take a look at how this all will work together end-to-end.
Home Assistant, as home automation platform and for user interactions and automation
ESP chip low cost connected controller hardware, providing GPIO pins to control the relay and WiFi connectivity
ESPHome software that run’s on the ESP, providing the ability to configure actions with the relay and communication with Home Assistant.
Relay board with multiple relays that can control switches providing high or low power as input
In six simple steps we’ll make the fireplace smart.
Install ESPHome in Home Assistant and create ESPHome node
In the previous article, we introduced ESP boards and Relays that will help to switch the Bellfire fireplace pins of the controller. Now we need to control software that connect the ESP to Home Assistant and that can control the relays using the ESP GPIO pins. We are going to do this with an ESPHome.
ESPHome is a system to control your ESP8266/ESP32 by simple yet powerful configuration files and control them remotely through Home Automation systems like Home Assistant.
ESPHome is amazing, it’s extremely powerful and, more important very stable. It has never failed me. The integration with Home Assistant is seamless, including autodiscovery within Home Assistant and one-click configuration.
If you want, you can build advanced sensors with it. The good thing is that sensors are supported natively by ESPHome and can be used by easy configuration. The possibilities with ESPHome and Home Assistant are endless; the blocking factor is your own imagination.
Key features
Easy to work with, no programming needed
Seamless integration with Home Assistant
Over-The-Air flashing of the firmware
Supports a long list of devices.
We’ll use ESPHome to connect the ESP to Home Assistant and to control the relays using the GIO pins.